Blur, Crop and Annotate
Please note that blurs, cropping, and annotations are only supported for screenshot slides. Video slide editing is currently not supported.
Add blurs and redactions
You can blur out sections of your Supademo to ensure you redact any sensitive information like emails, names, or phone numbers. To add a blur. Please refer to the above Supademo for the step-by-step guide.
You can also use Smart Blur to automatically redact content before or during a recording.
Crop your Supademo
You can crop your Supademo to ensure you remove extraneous sections from your screenshot or make it align with the aspect ratios of your previous slides. Please refer to the below Supademo for the step-by-step guide.
Annotate your Supademo
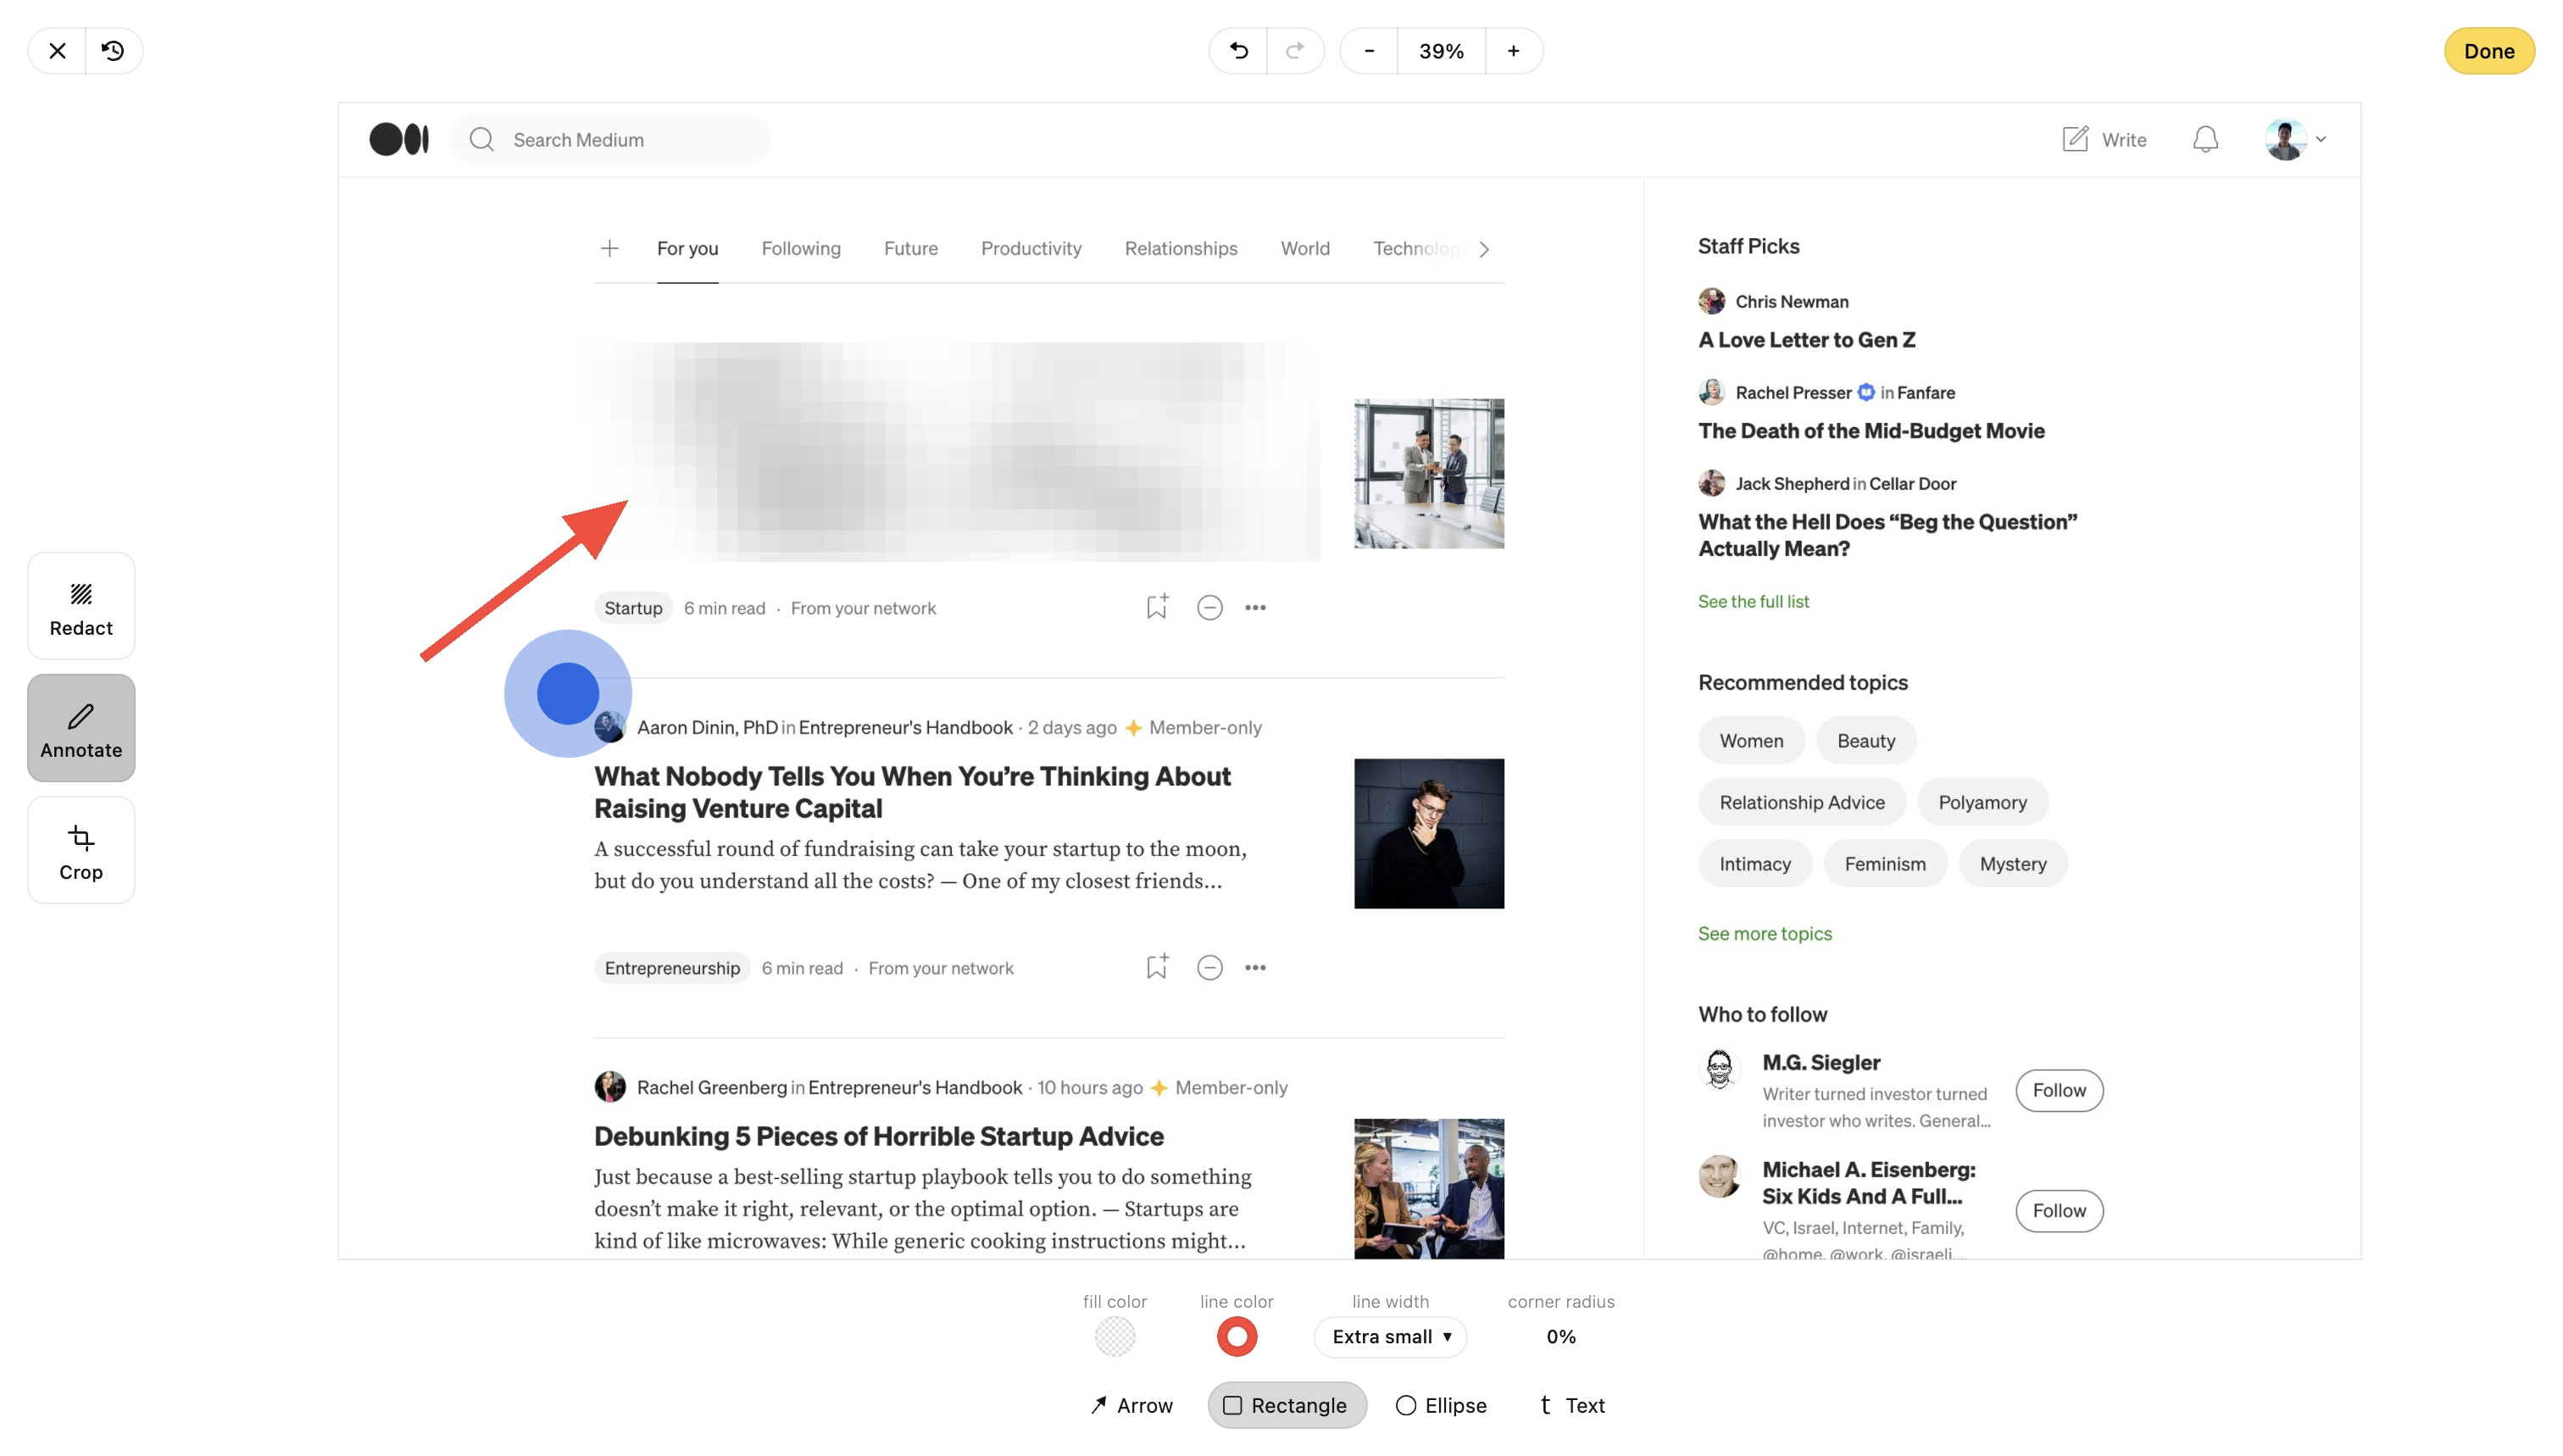
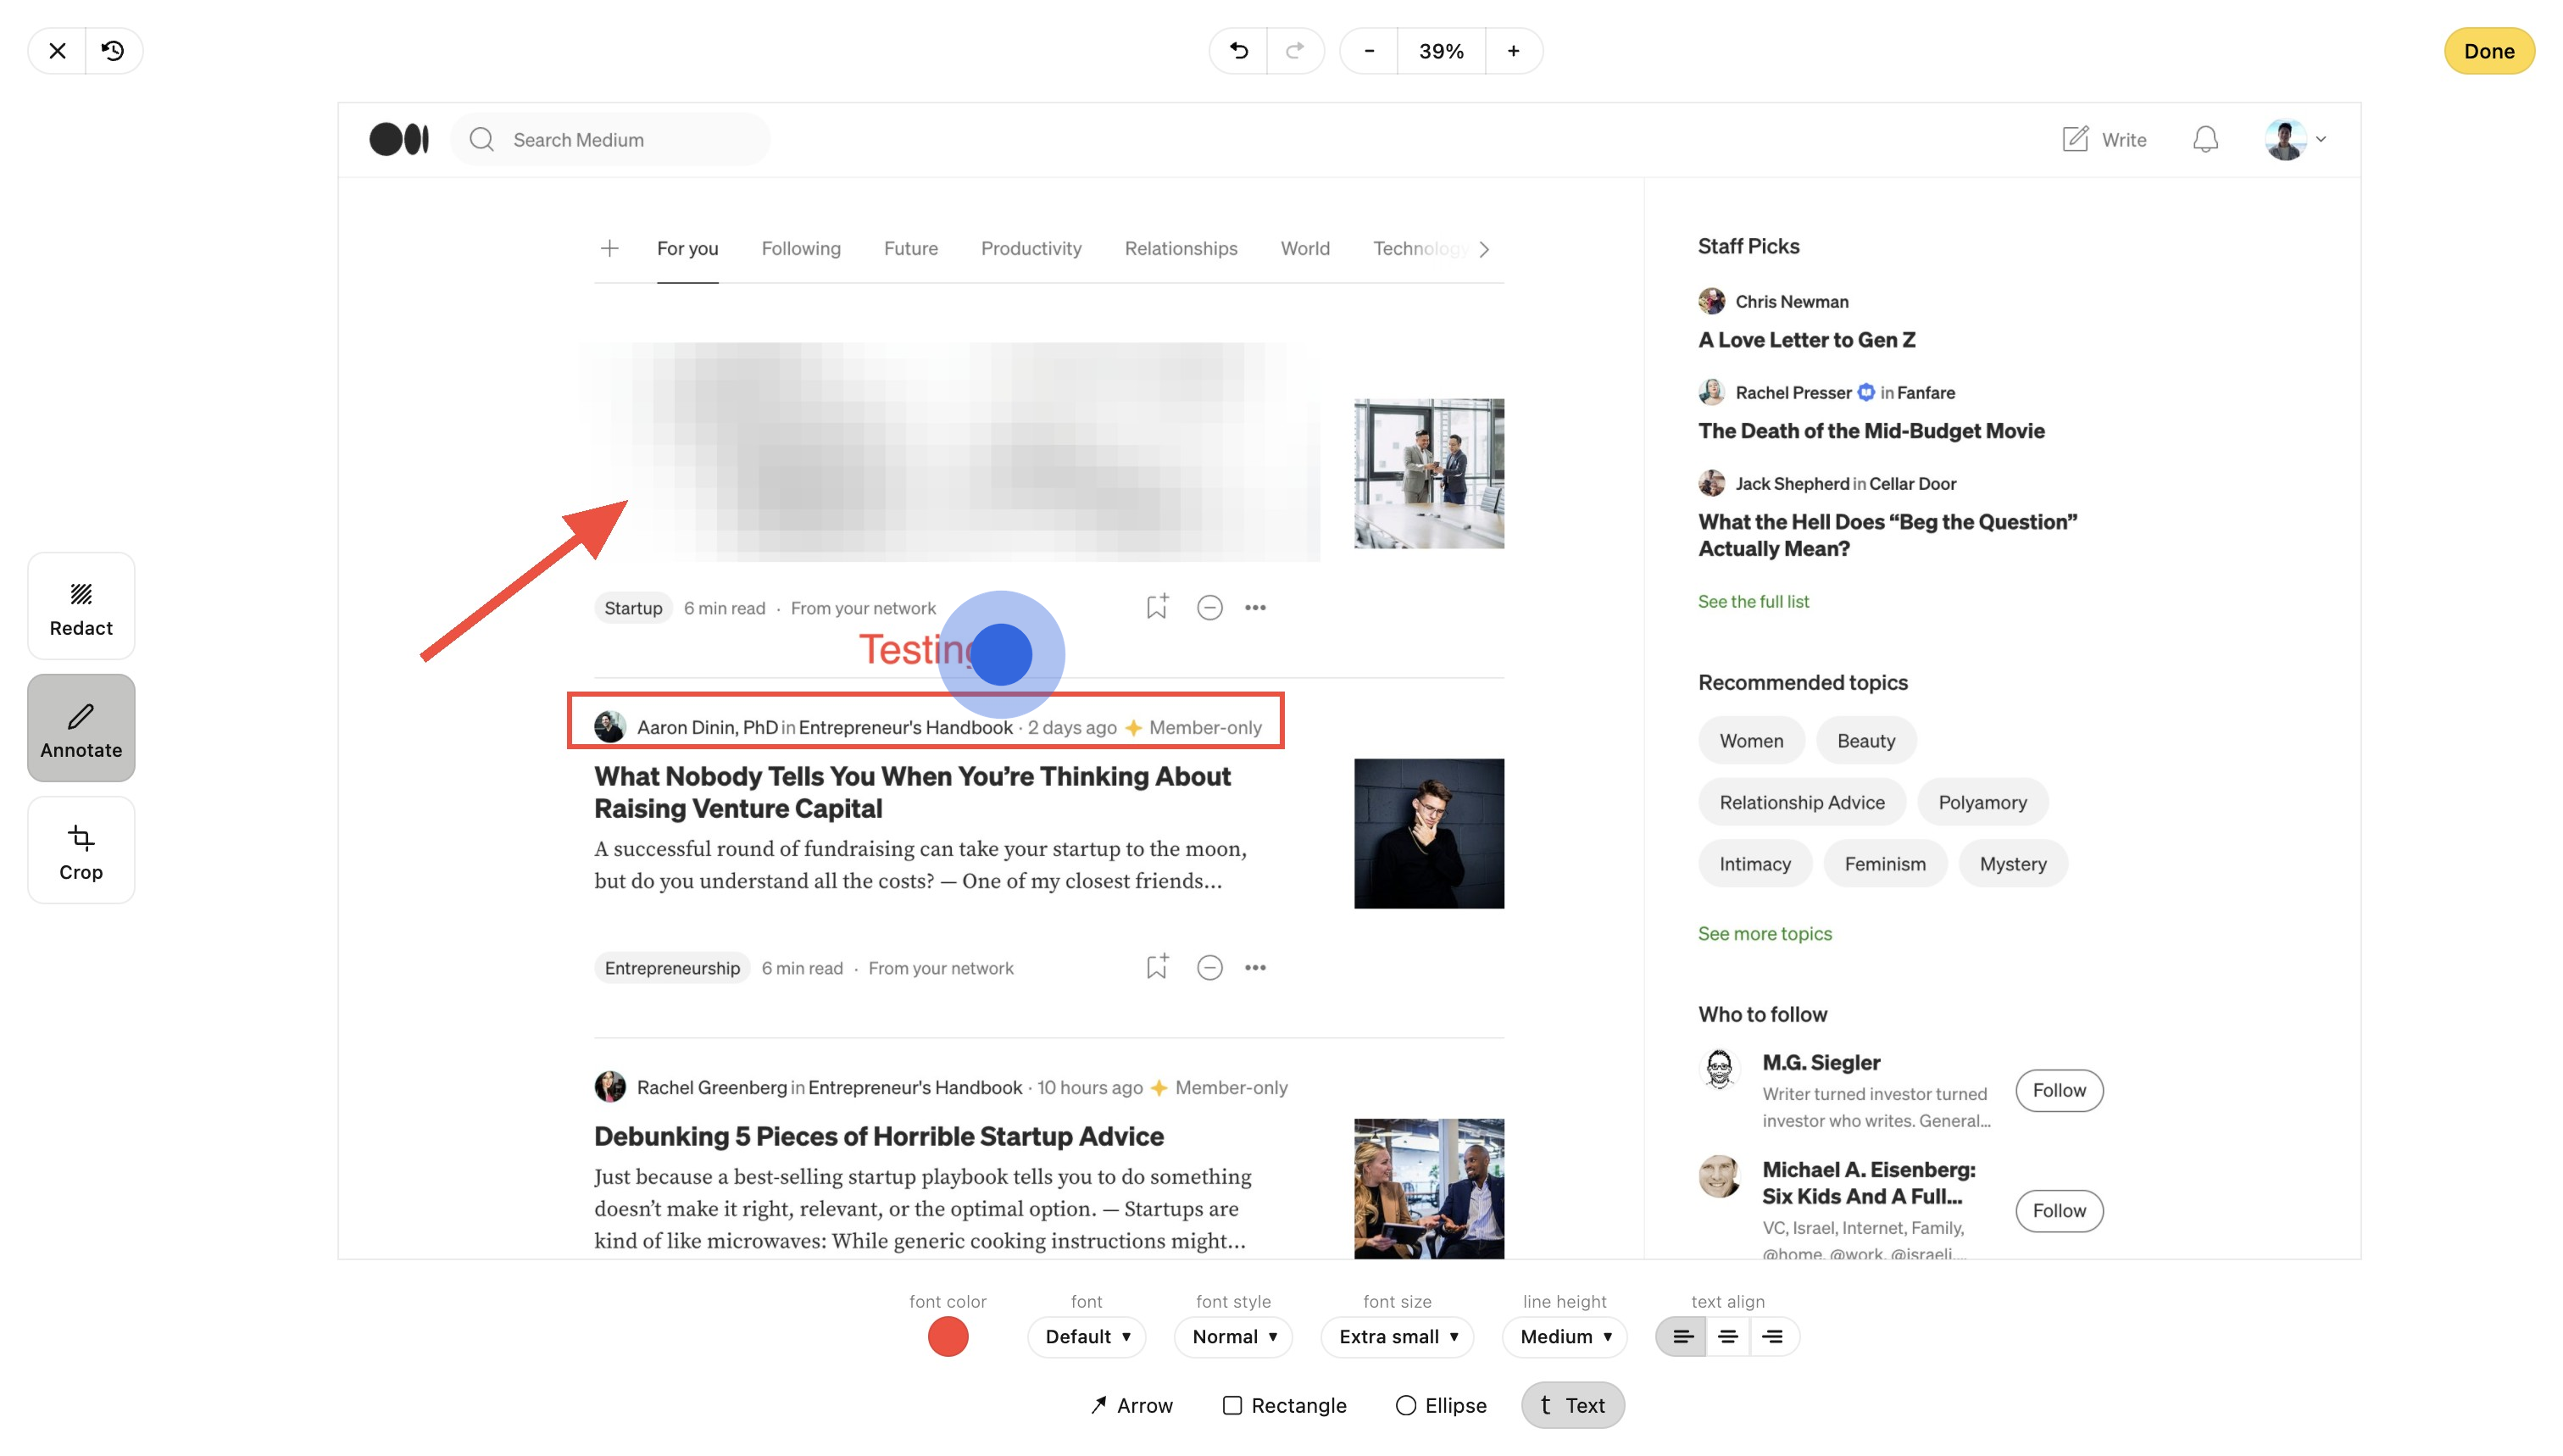
You can add annotations like arrows, rectangles, ellipses, and text to bring attention to specific areas on your Supademo. Please refer to the above Supademo for the step-by-step guide.
Your Supademo takes the aspect ratios of the first slide in your demo. This means that subsequent slides are cropped in/out to match the first slide's dimensions.
For a cohesive, professional Supademo, we recommend using the same window size, resolution, or dimensions for all recordings and screenshots uploaded.
Step-by-step guide to this feature
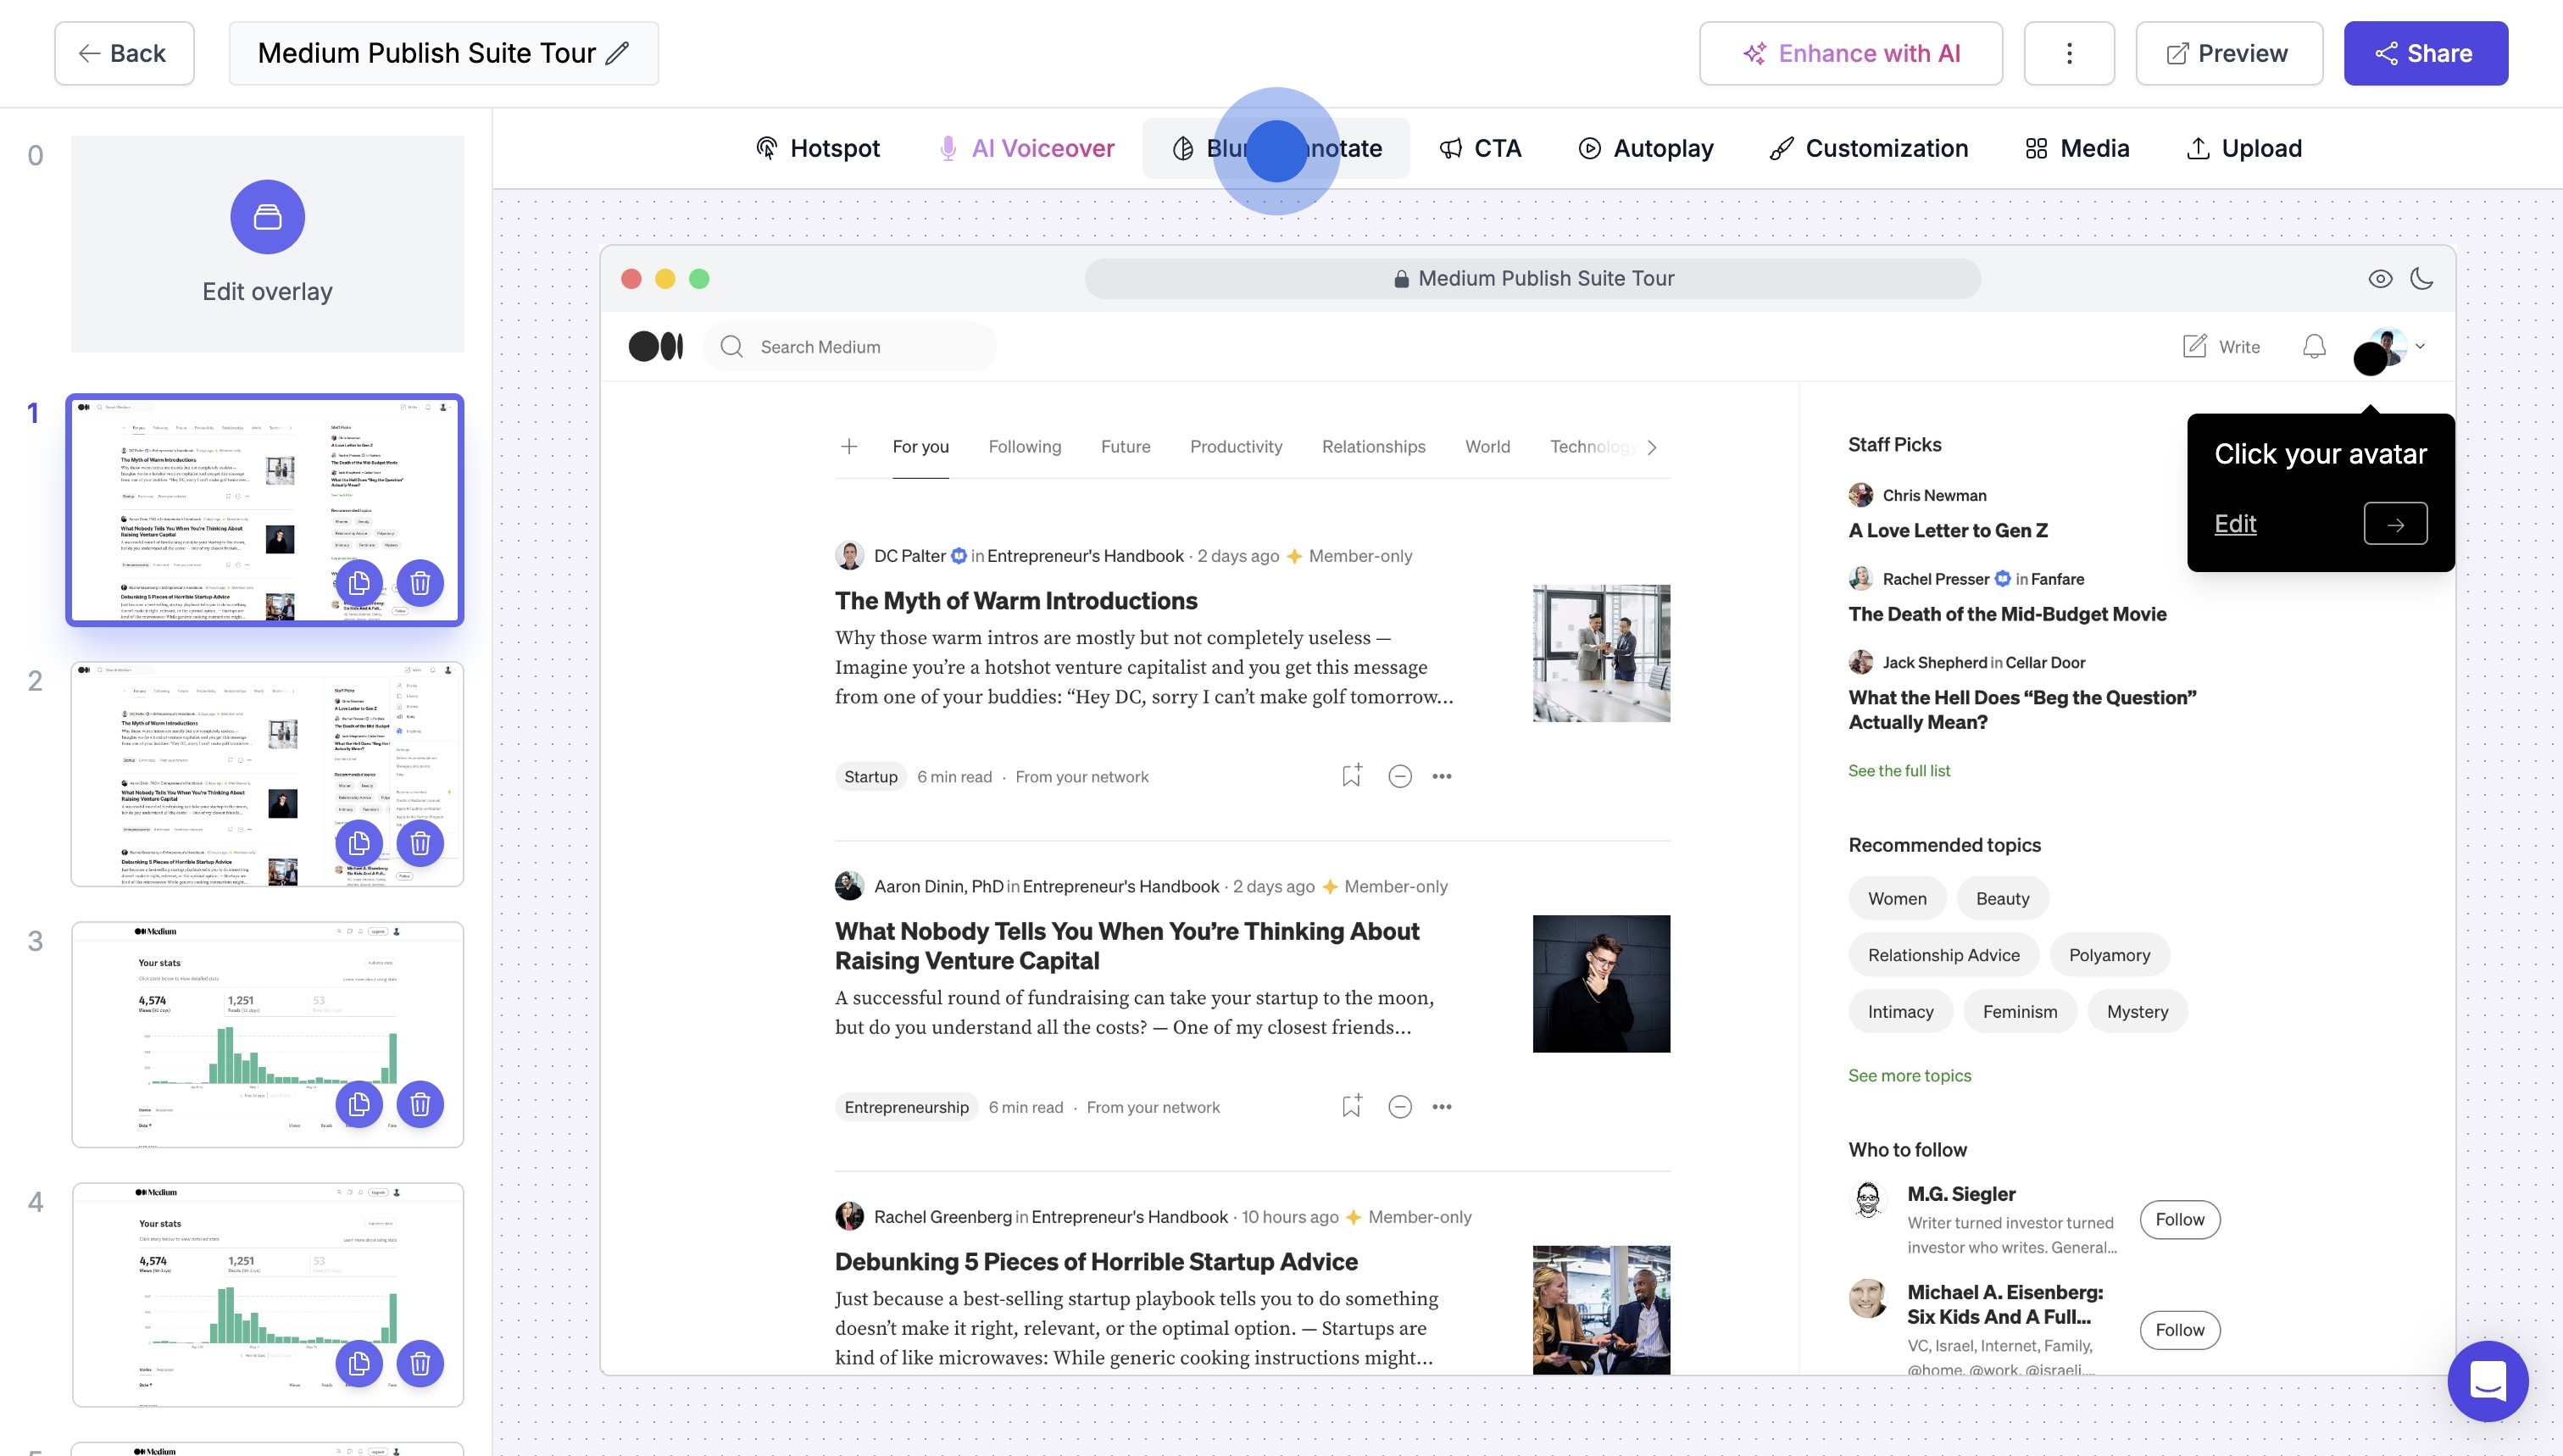
1. Click on "Blur & Annotate"
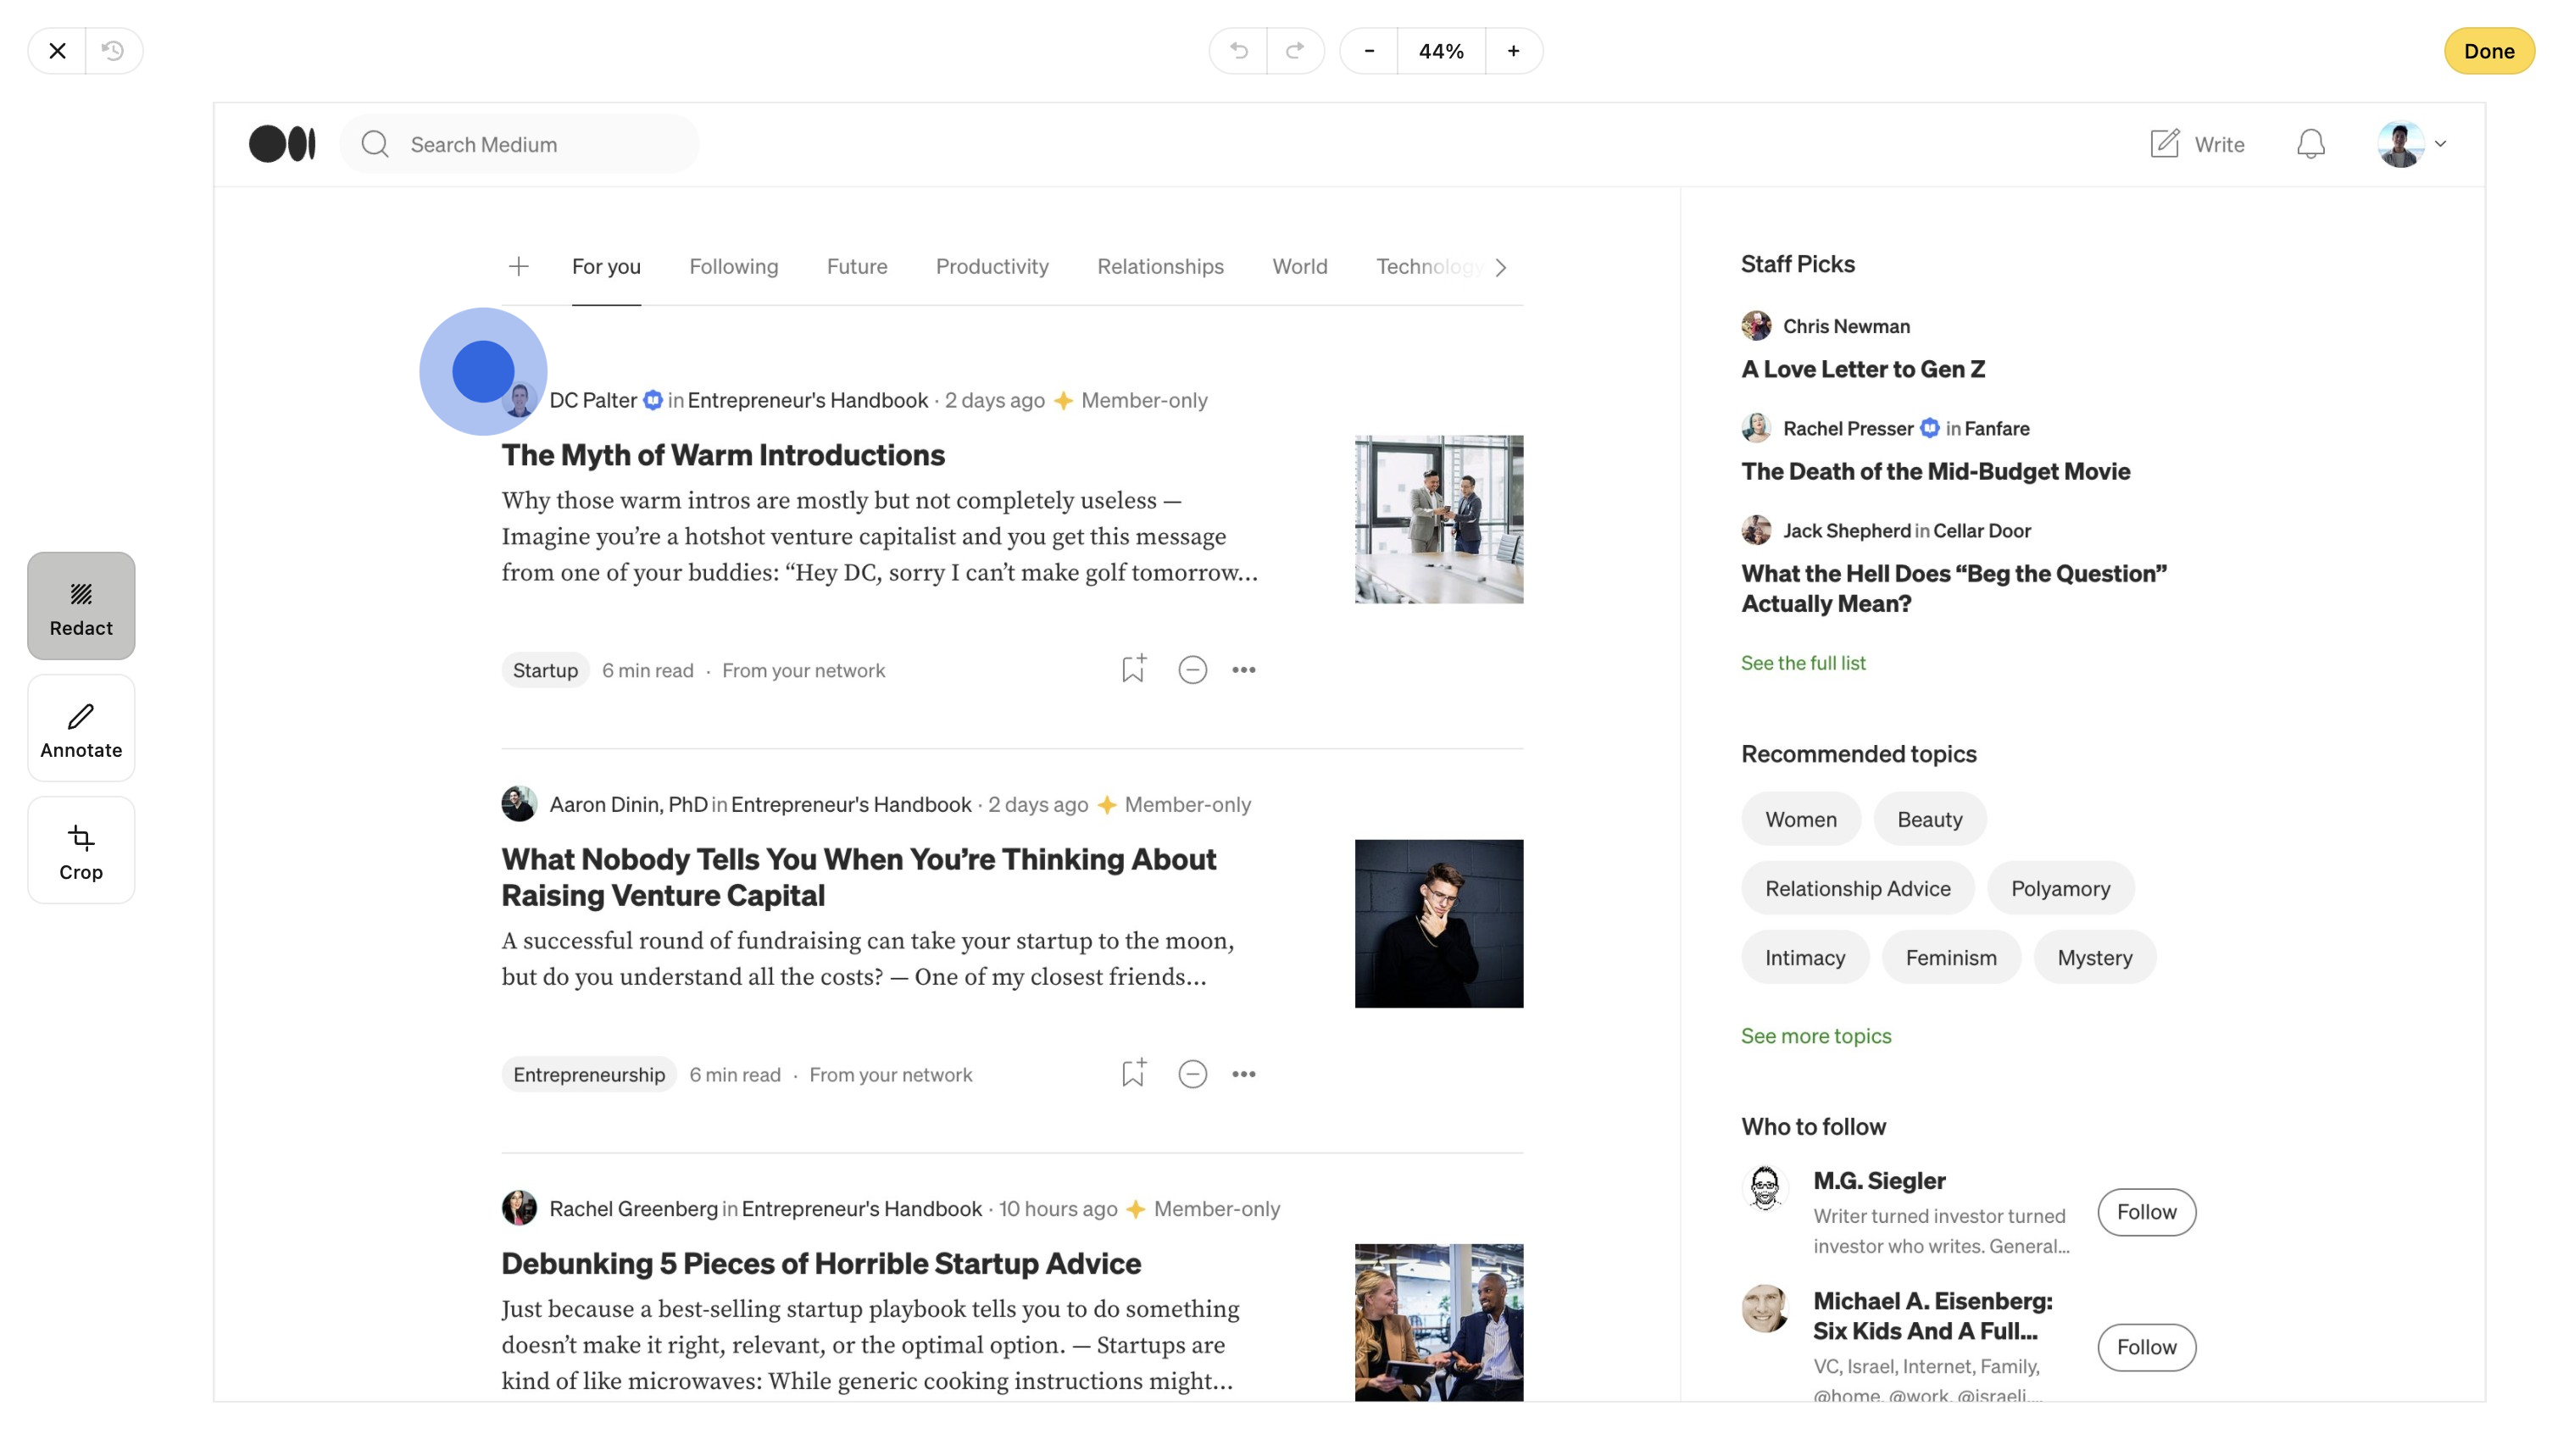
2. Blur any sections you want to redact by simply dragging across the screen.
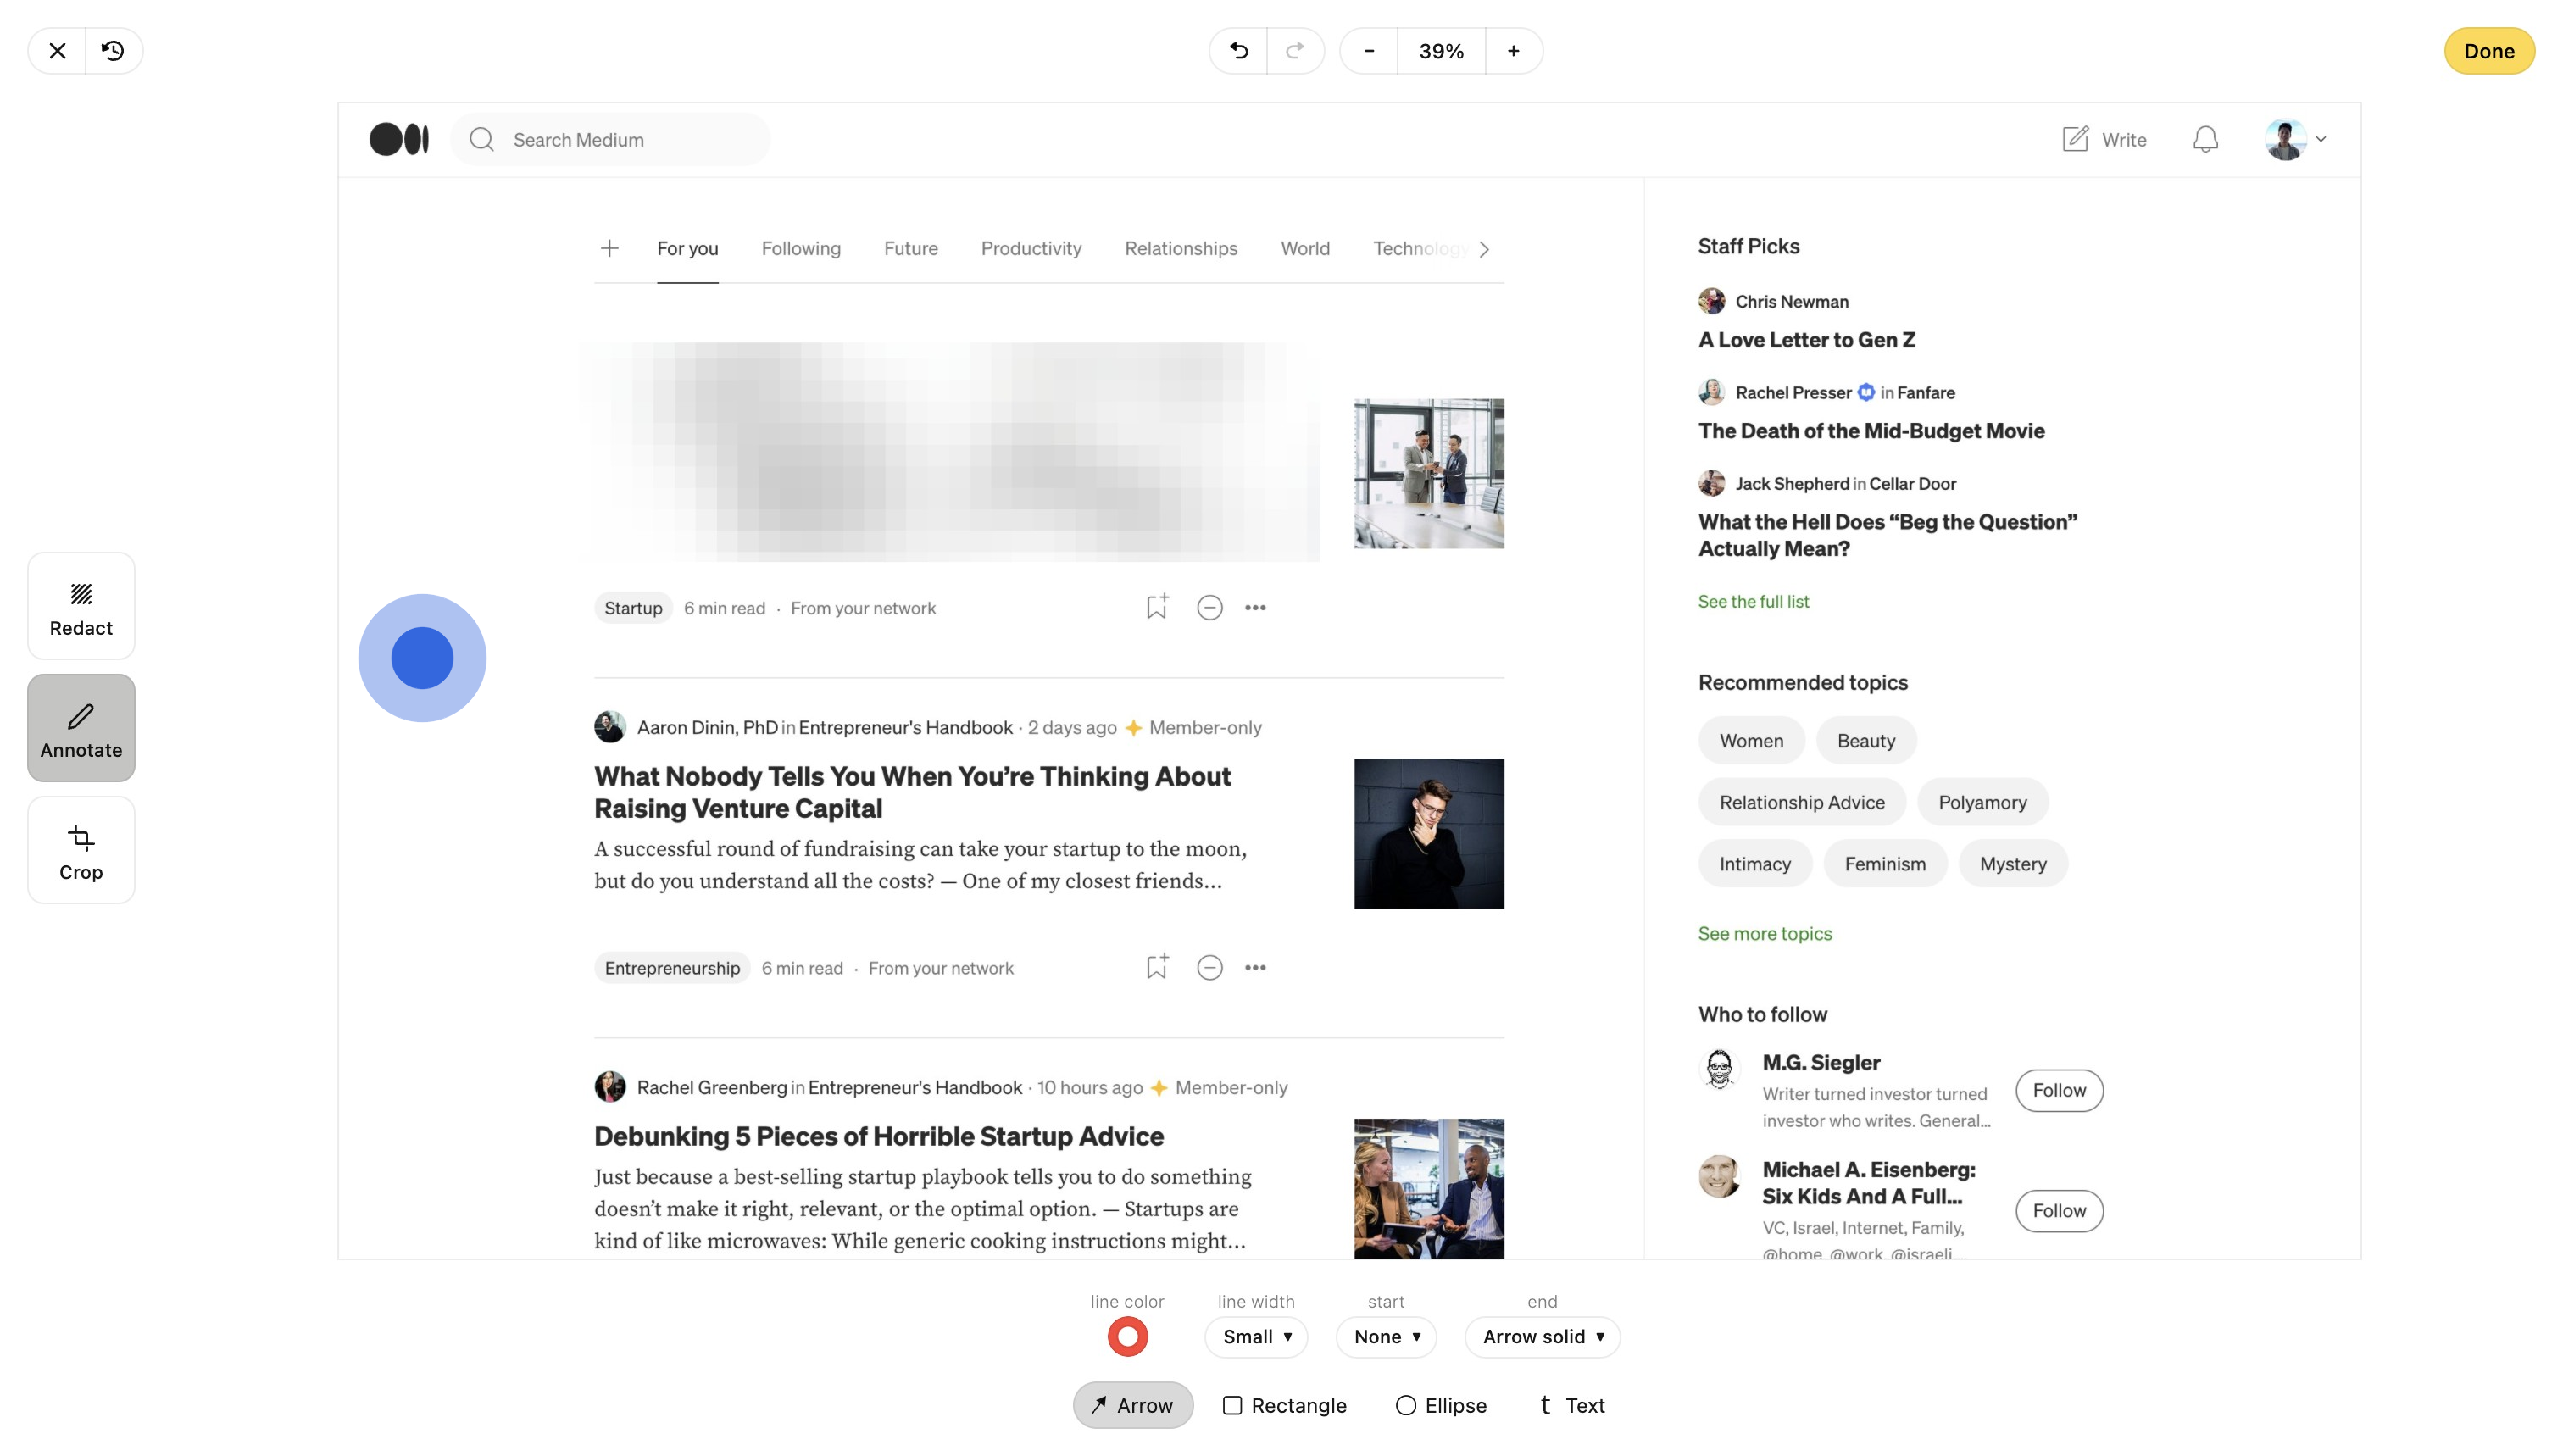
3. Annotate your Supademo by clicking the option on the left-hand side.

4. Click on any spot on your screen to add an arrow.
5. Add rectangles to your screen by clicking the option at the bottom.
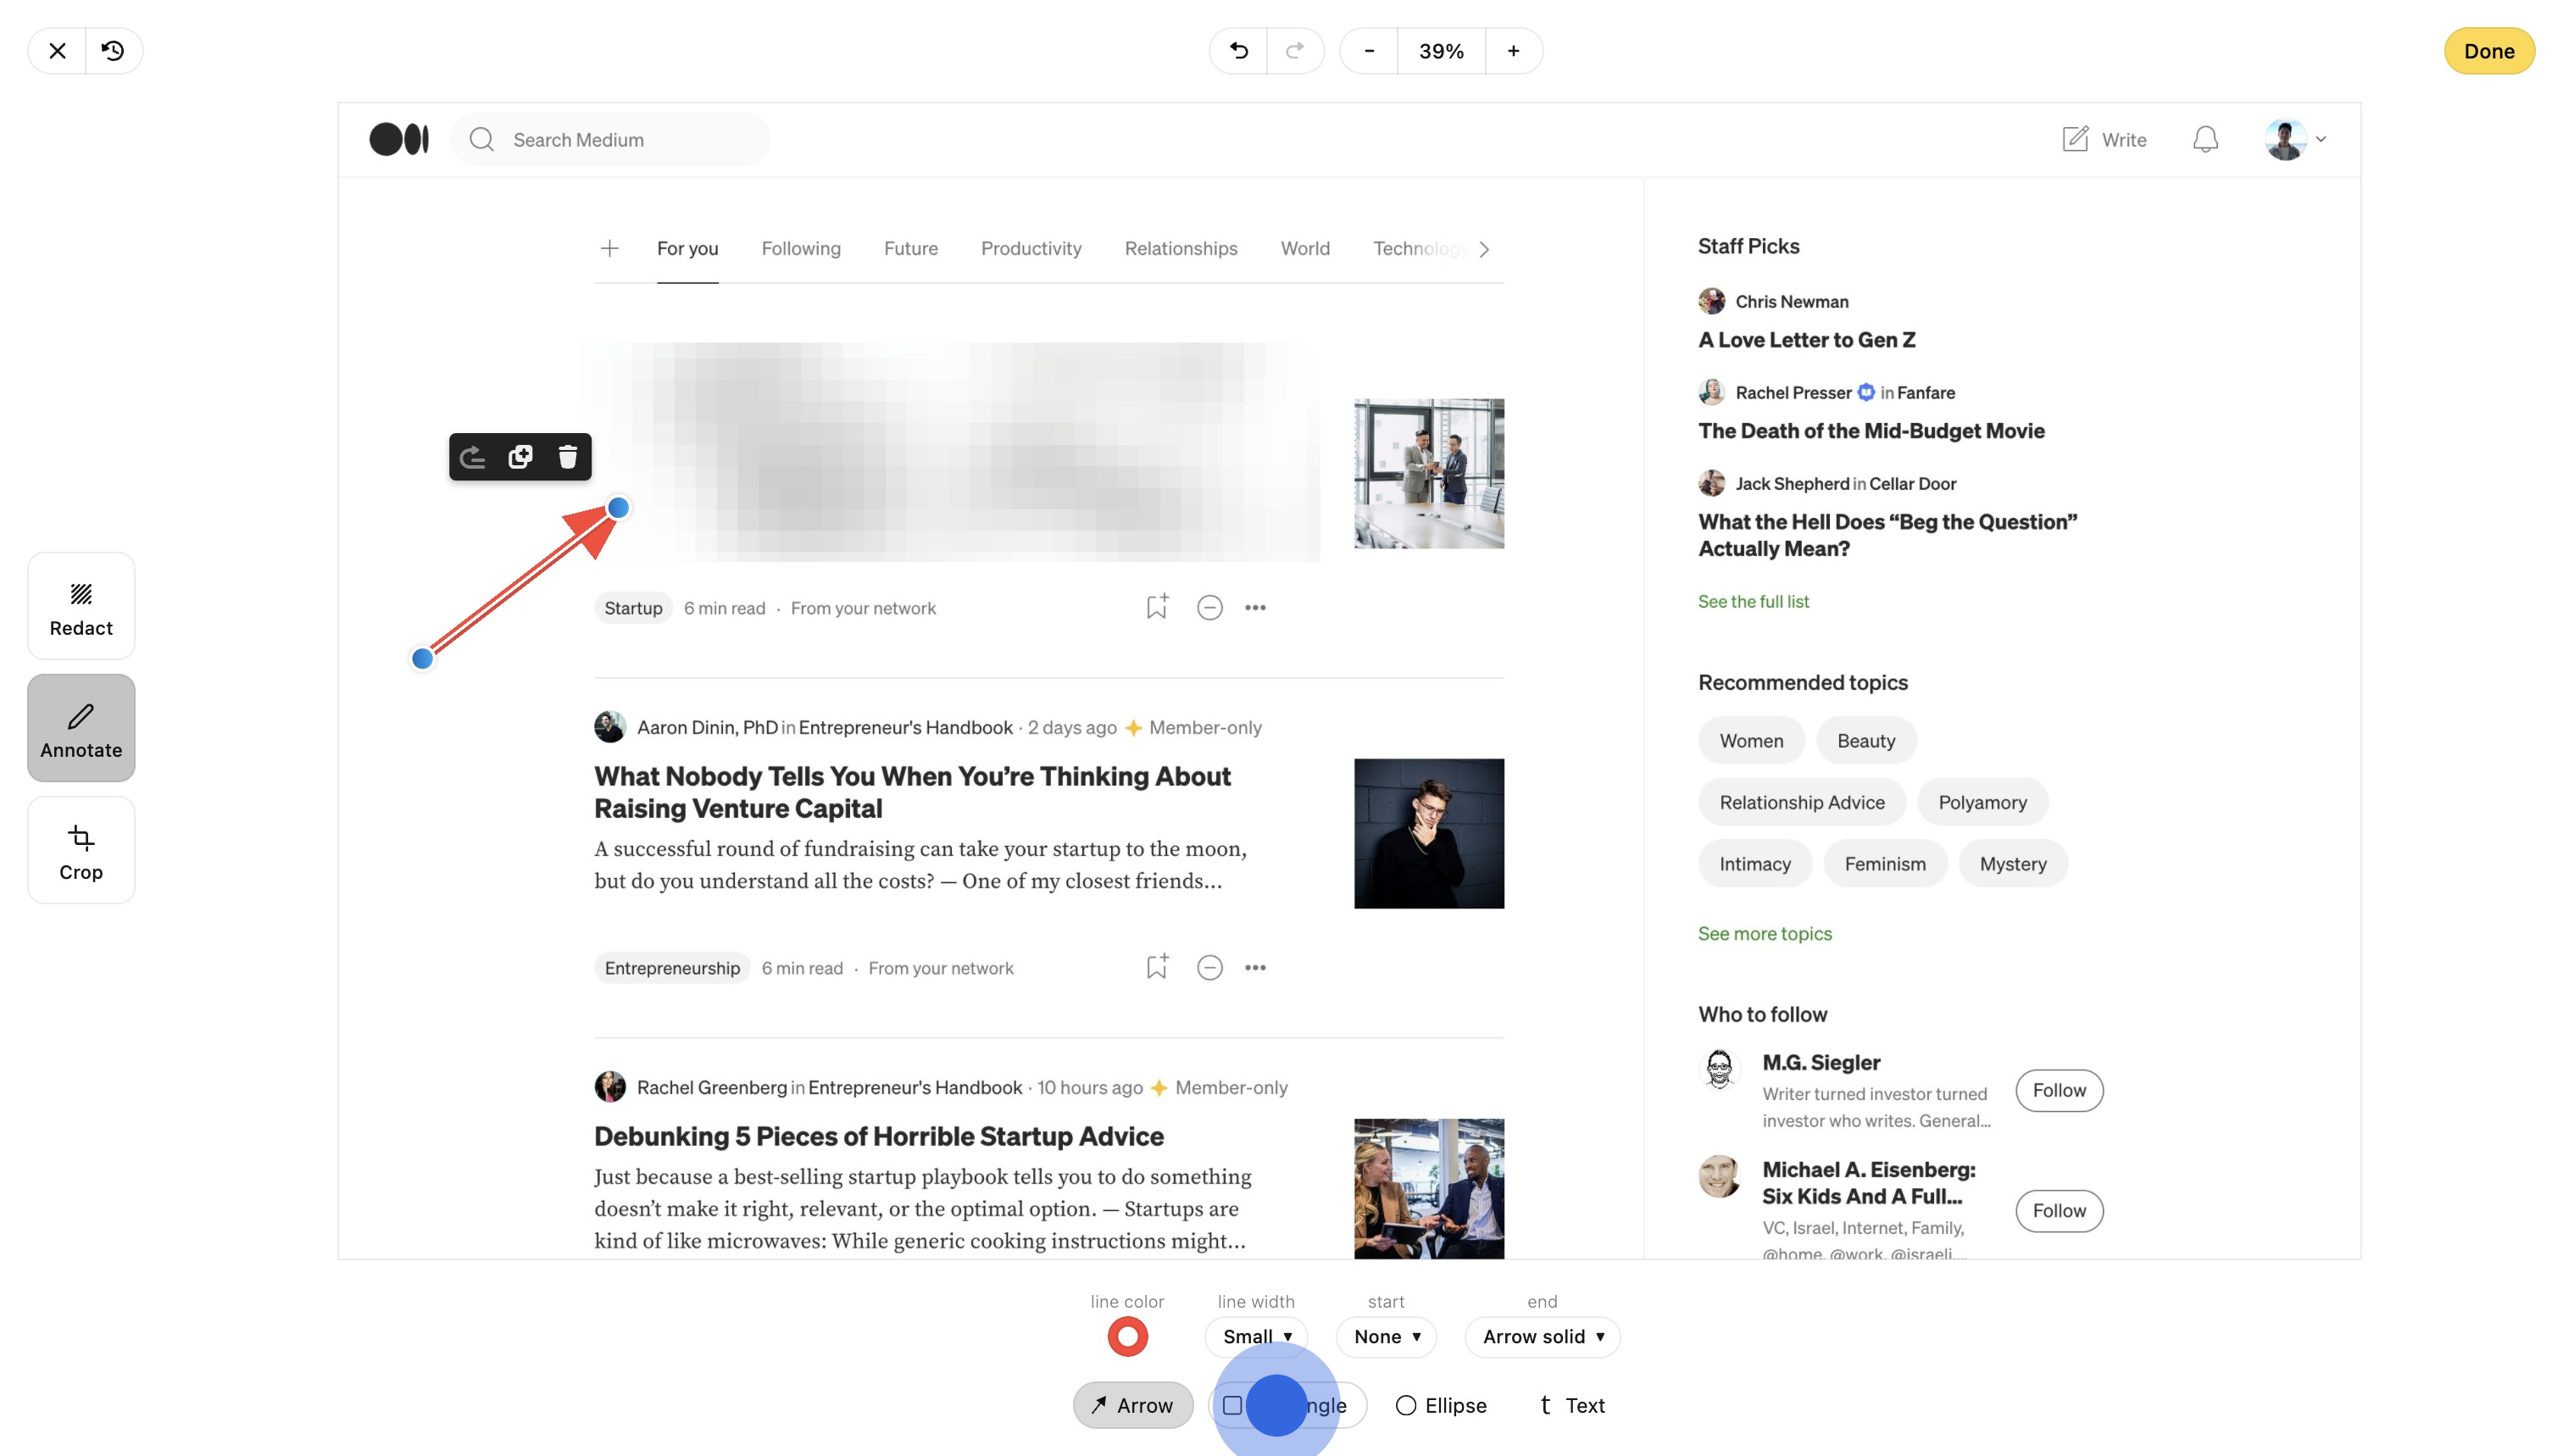
6. Like the arrow, drag over an area to drop the rectangle annotation.
7. You can do the same with text. Simply drag on the screen and you'll end up with something like this ->

8. This is text we just added!
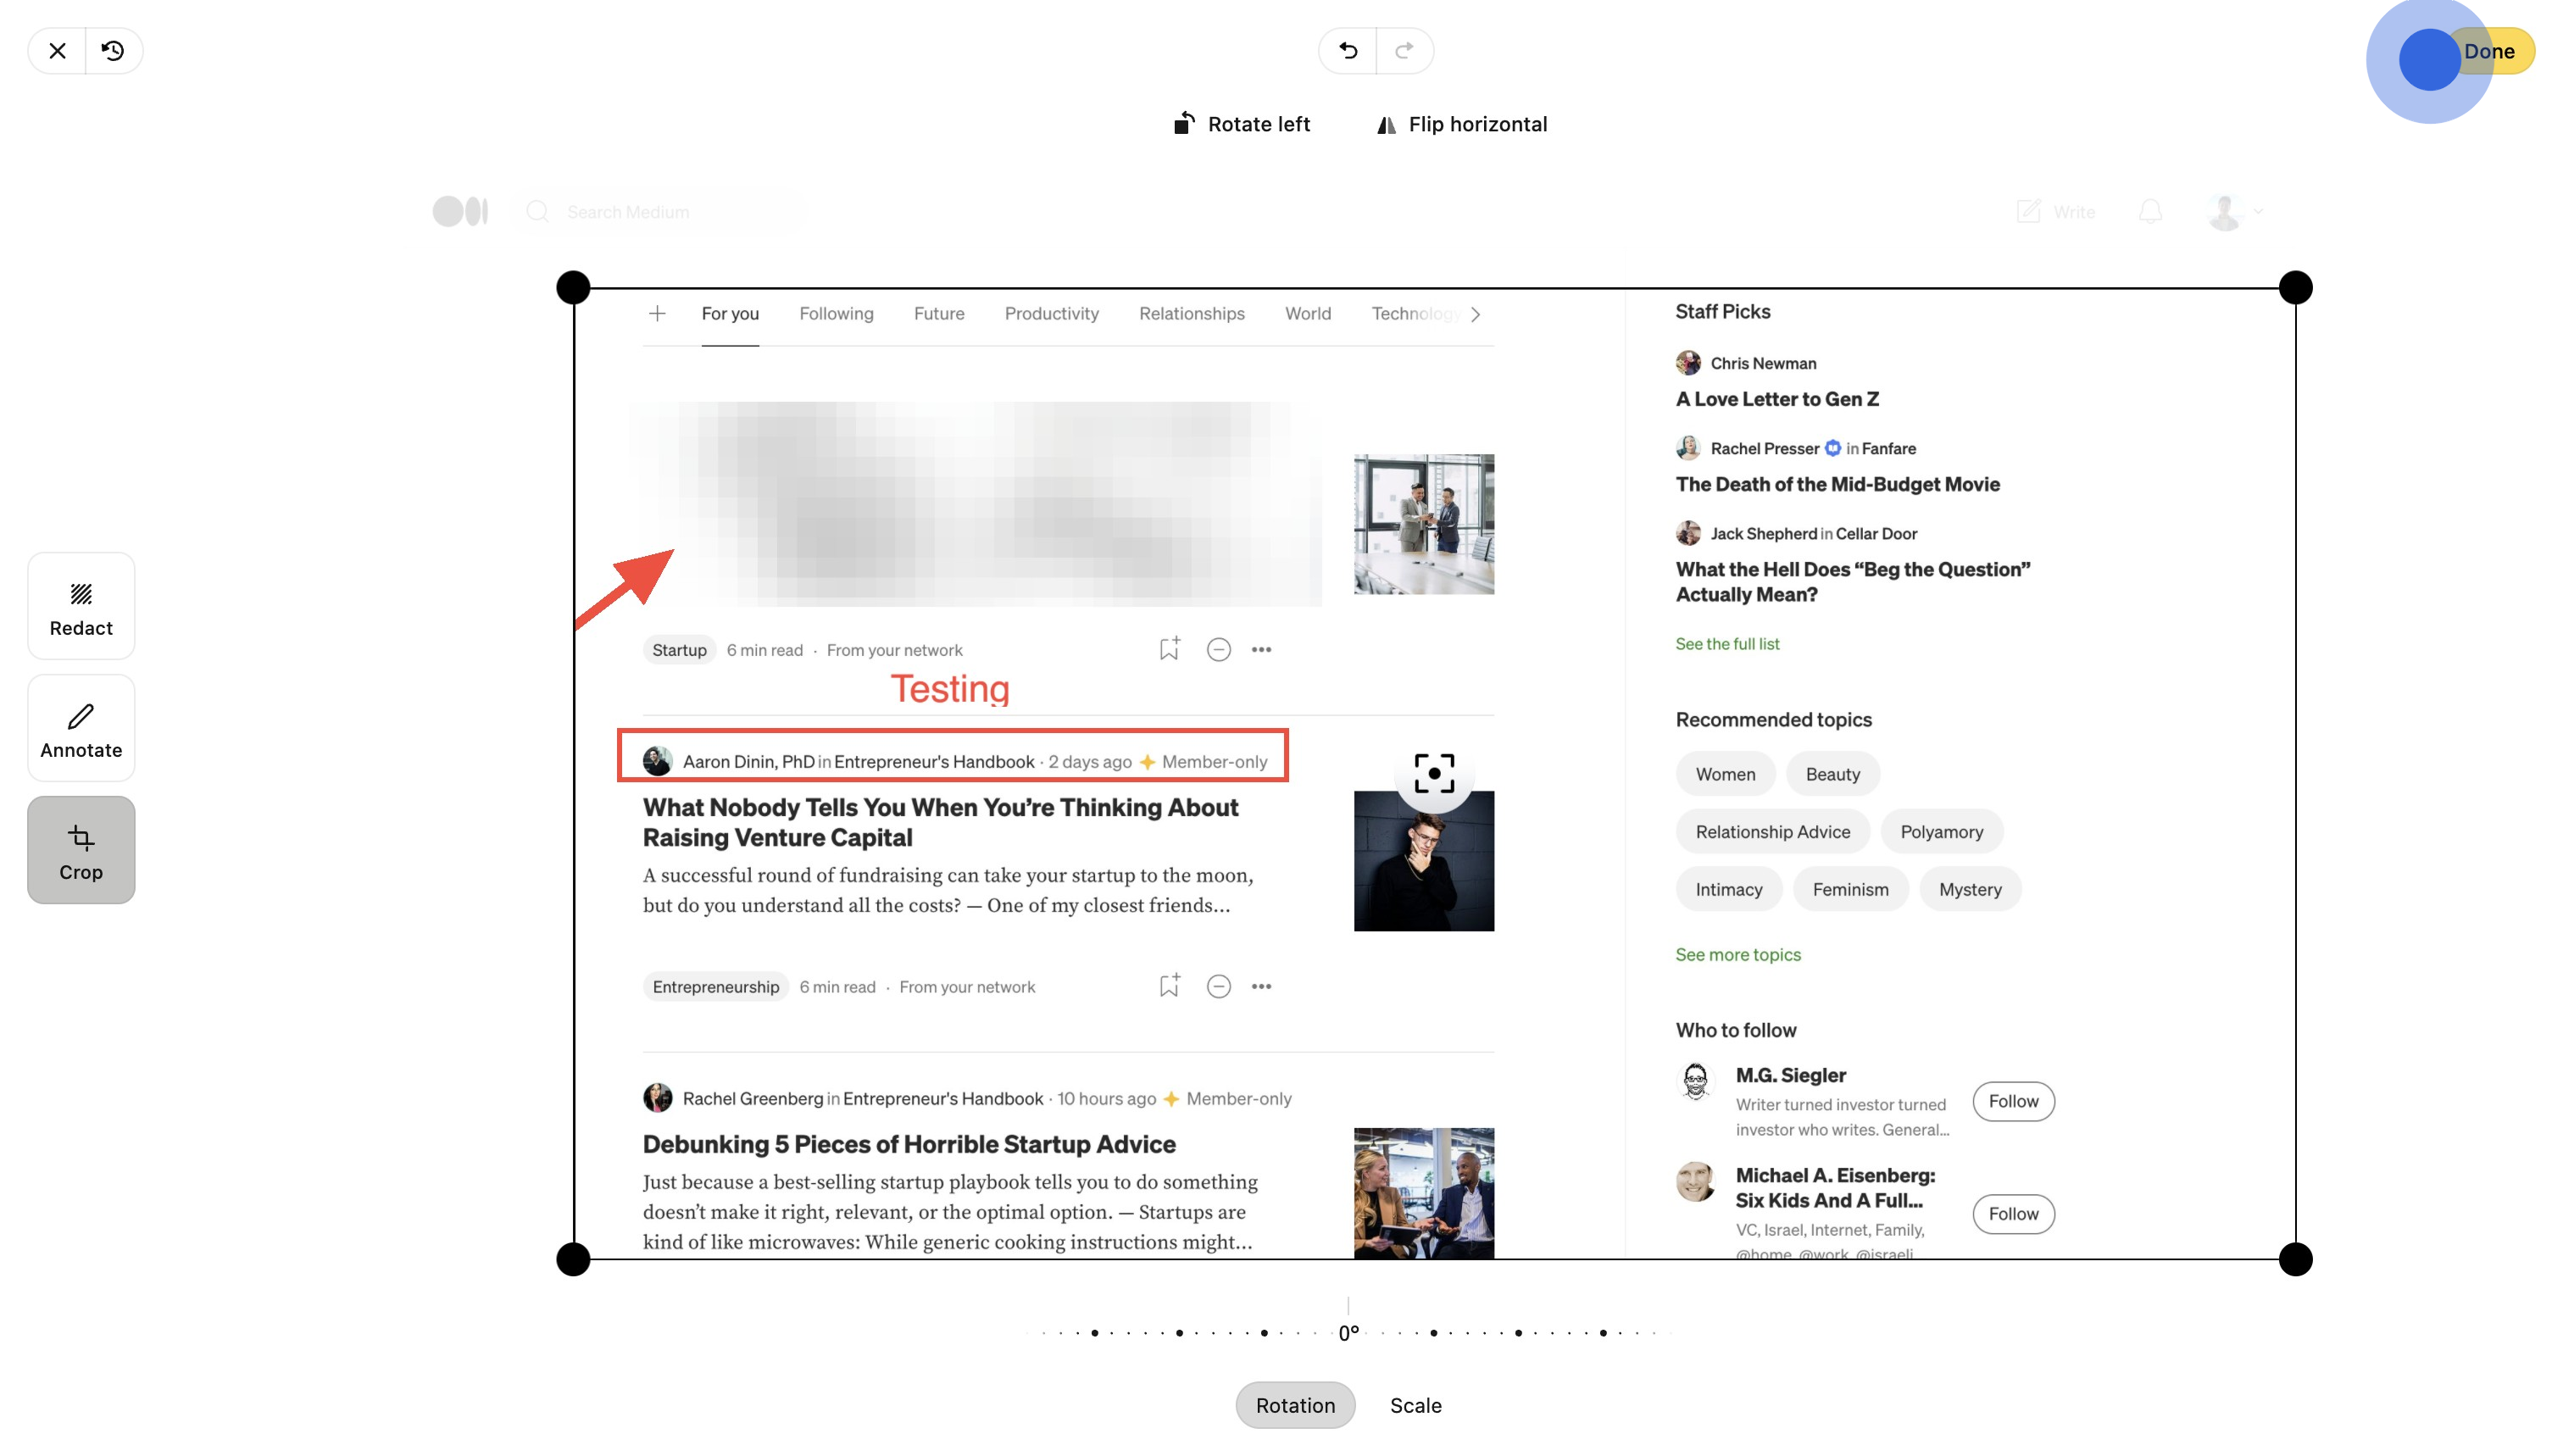
9. Crop a Supademo by clicking the option on the left.
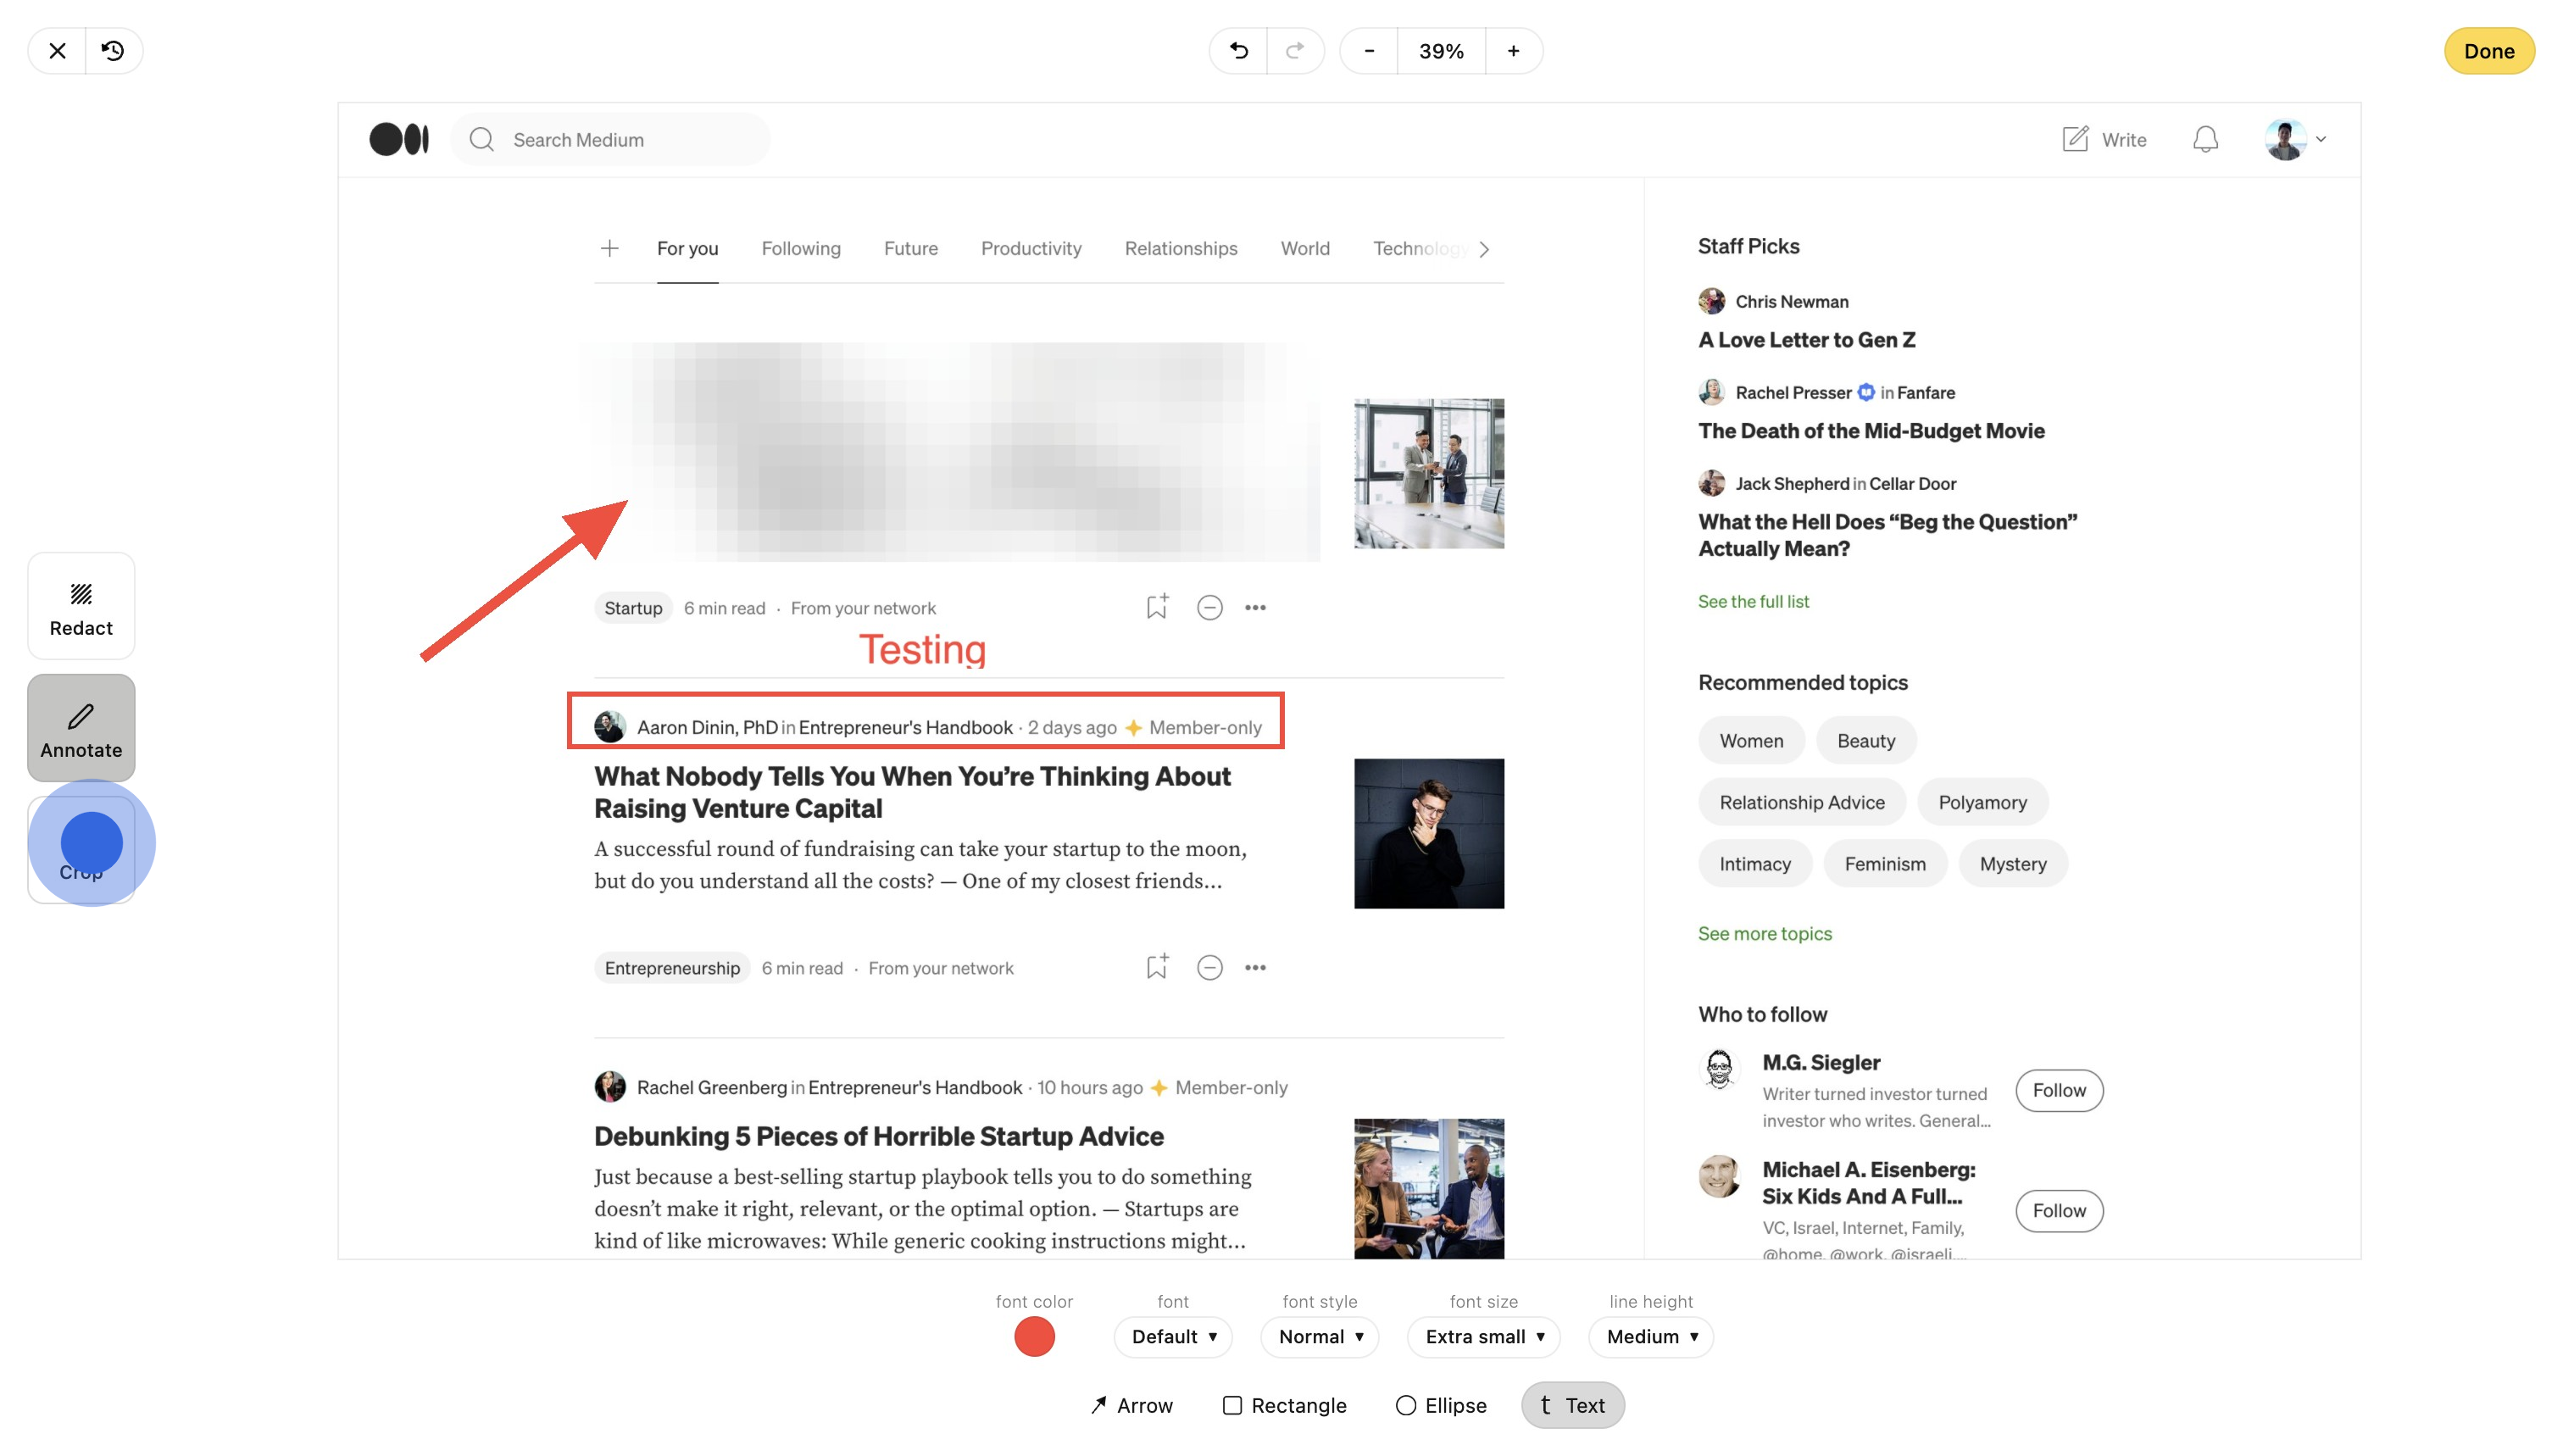
10. Simply drag it to the desired size or aspect ratio.
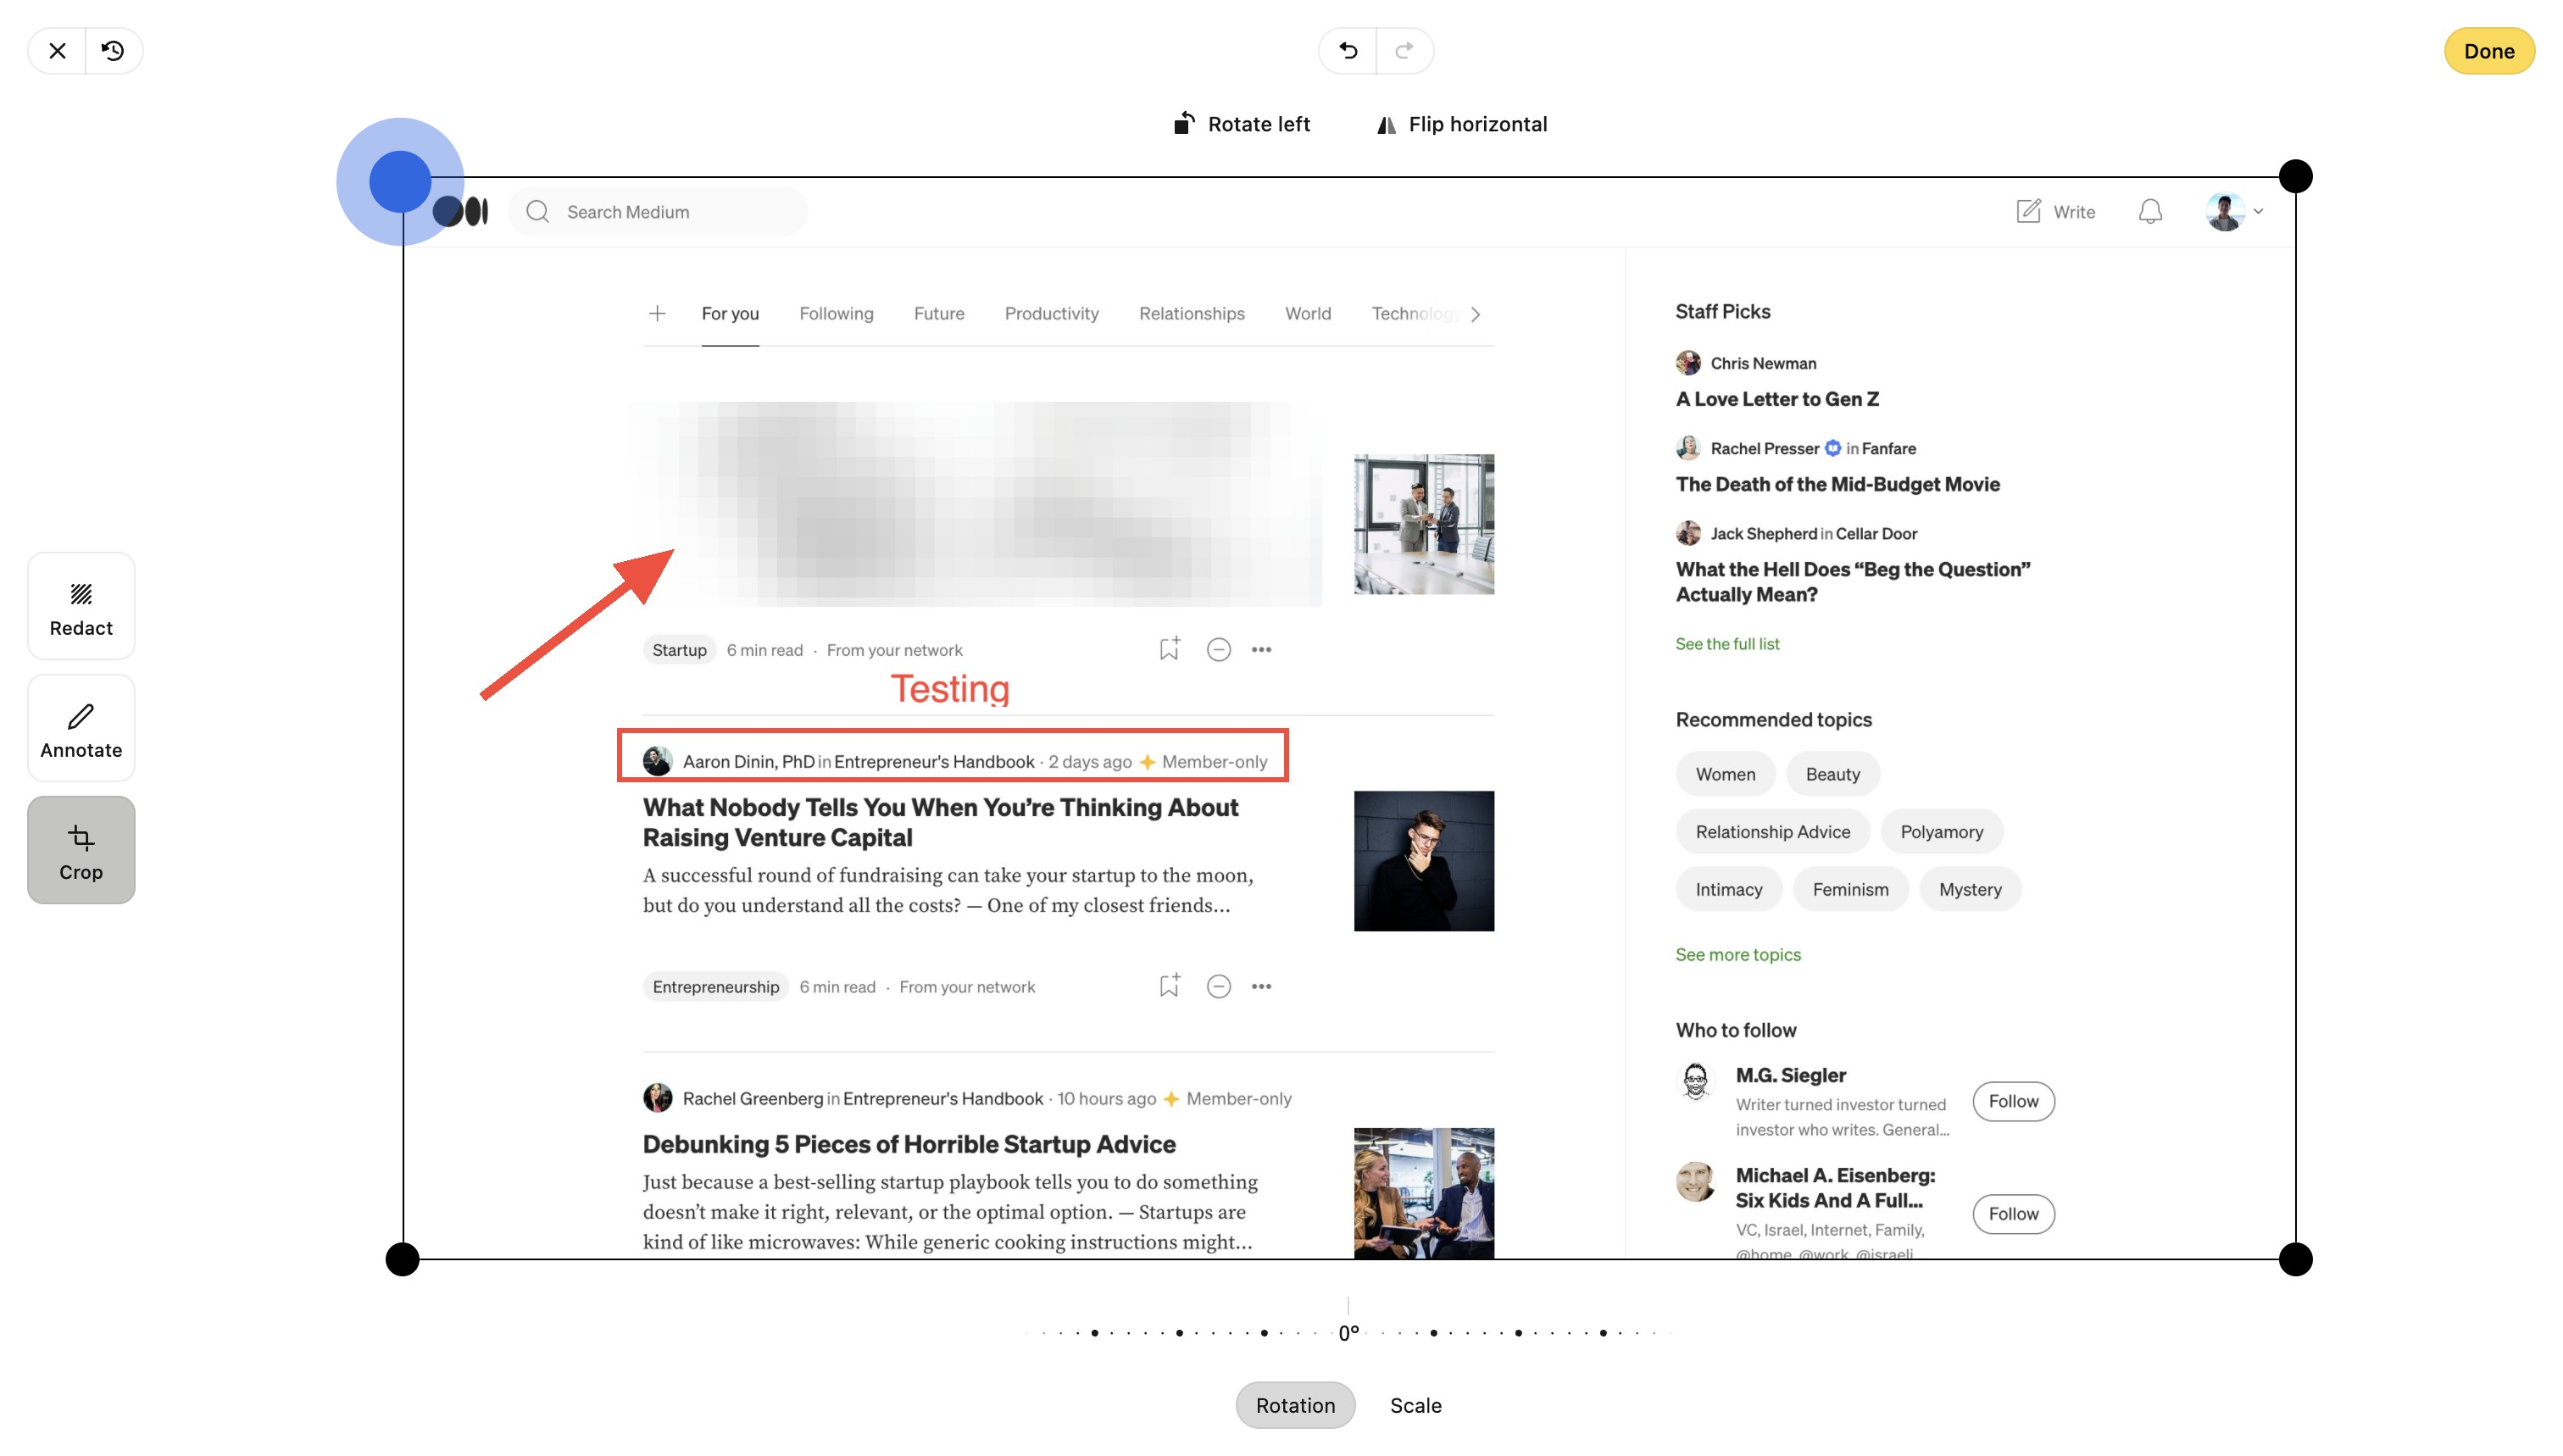
11. Whenever you're done with your changes, click "Done" to save the image!
